Kamal Rails on Hetzner Series Part 3: Enable HTTPS and SSL Certificate
This is Part 3 of the Kamal Rails series. So far, we’ve deployed a Rails application and accessed it using HTTP. In production, we always use HTTPS with an SSL certificate for security. This article shows how to add HTTPS and SSL configuration to your deployed Rails application using Kamal.
Prerequisites
- A Rails application already deployed with Kamal
- Ability to access the application at
<SERVER_IP>/up(should return 200 OK) - A domain purchased from a provider like Namecheap or GoDaddy
Step 1: Add traefik configuration to deploy.yml
- These are the things we need to add in our
config/deploy.yml
1
2
3
4
5
6
7
8
9
10
11
12
13
14
15
16
17
18
19
20
21
22
23
24
25
26
27
28
29
30
31
32
33
34
35
36
37
38
39
40
41
42
43
44
45
46
47
48
49
50
51
52
53
# Name of your application. Used to uniquely configure containers.
service: rubypodcatcher

# Name of the container image.
image: joshio1/rubypodcatcher

# Deploy to these servers.
servers:
  web:
    hosts:
      - <SERVER_IP>
    labels:
      traefik.http.routers.rubypodcatcher.rule: Host(`rubypodcatcher.com`)
      traefik.http.routers.rubypodcatcher_secure.entrypoints: websecure
      traefik.http.routers.rubypodcatcher_secure.rule: Host(`rubypodcatcher.com`)
      traefik.http.routers.rubypodcatcher_secure.tls: true
      traefik.http.routers.rubypodcatcher_secure.tls.certresolver: letsencrypt
    options:
      network: "private"

# Credentials for your image host.
registry:
  # Specify the registry server, if you're not using Docker Hub
  # server: registry.digitalocean.com / ghcr.io / ...
  username: joshio1

  # Always use an access token rather than real password when possible.
  password:
    - KAMAL_REGISTRY_PASSWORD

# Inject ENV variables into containers (secrets come from .env).
# Remember to run `kamal env push` after making changes!
env:
  clear:
    HOSTNAME: rubypodcatcher.com
  secret:
    - RAILS_MASTER_KEY

# Configure custom arguments for Traefik
traefik:
  options:
    publish:
      - "443:443"
    volume:
      - "/letsencrypt/acme.json:/letsencrypt/acme.json"
    network: "private"
  args:
    entryPoints.web.address: ":80"
    entryPoints.websecure.address: ":443"
    certificatesResolvers.letsencrypt.acme.email: "omkar.nitin.joshi@gmail.com"
    certificatesResolvers.letsencrypt.acme.storage: "/letsencrypt/acme.json"
    certificatesResolvers.letsencrypt.acme.httpchallenge: true
    certificatesResolvers.letsencrypt.acme.httpchallenge.entrypoint: web
- Replace
with the IP address of your remote server.
Step 2: Create Let’s Encrypt ACME File and Docker Network
- We use Let’s Encrypt for HTTPS configuration (as shown in the
deploy.ymlabove) - Create an
acme.jsonfile on the remote server for the configuration to work - Create a “private” Docker network for internal communication
- SSH into the remote server and run:
1
2
3
$ ssh root@<SERVER_IP>
root# mkdir -p /letsencrypt && touch /letsencrypt/acme.json && chmod 600 /letsencrypt/acme.json
root# docker network create -d bridge private
- You can automate this with Kamal hooks, but since it’s a one-time setup, manual execution is fine
Step 3: Enable force_ssl in production.rb
- In the previous articles, we set
config.force_ssltofalseto allow HTTP access - Now, change it to
trueto enforce HTTPS:
1
2
3
4
# config/production.rb

# Force all access to the app over SSL, use Strict-Transport-Security, and use secure cookies.
  config.force_ssl = true
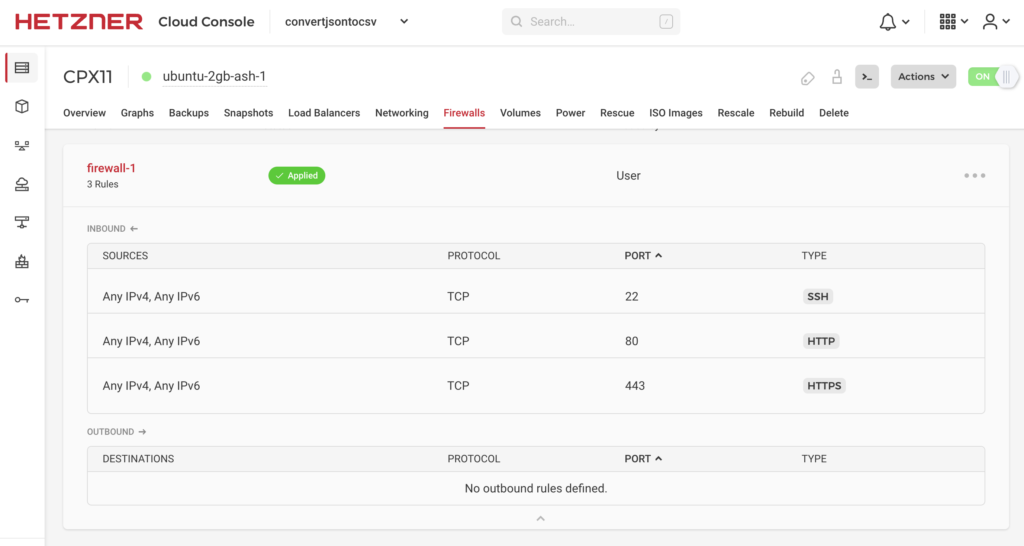
Step 4: Allow Inbound HTTPS Connections
- Create a firewall rule to allow inbound connections on ports 80 (HTTP) and 443 (HTTPS)
Step 5: Configure DNS Records
- Point your domain to your remote server’s IP address by adding DNS records in your domain provider’s settings
- Add an
A recordwithHOSTvalue of@pointing to your server’s IP address - Add a
CNAME recordwithHOSTvalue ofwwwpointing to your domain name (e.g.,example.com) - Note: These settings vary by provider. The above applies to Namecheap.
Step 6: Deploy Your Application
After completing all configuration, deploy your changes:
1
2
3
kamal setup
kamal deploy
kamal traefik restart
Your Rails application should now be accessible at your domain with HTTPS enabled.
For debugging, use:
1
2
kamal traefik logs
kamal app logs
You can also use kamal env push to update environment variables and kamal traefik reboot to restart Traefik. See kamal traefik help for more options.
Next Steps
You’ve now completed the Hetzner series with a Rails application deployed on Hetzner with HTTPS enabled. For additional Kamal configuration topics, check out:
Previous articles in this Hetzner series:
Listen to this podcast where DHH talks about Rails and Kamal.
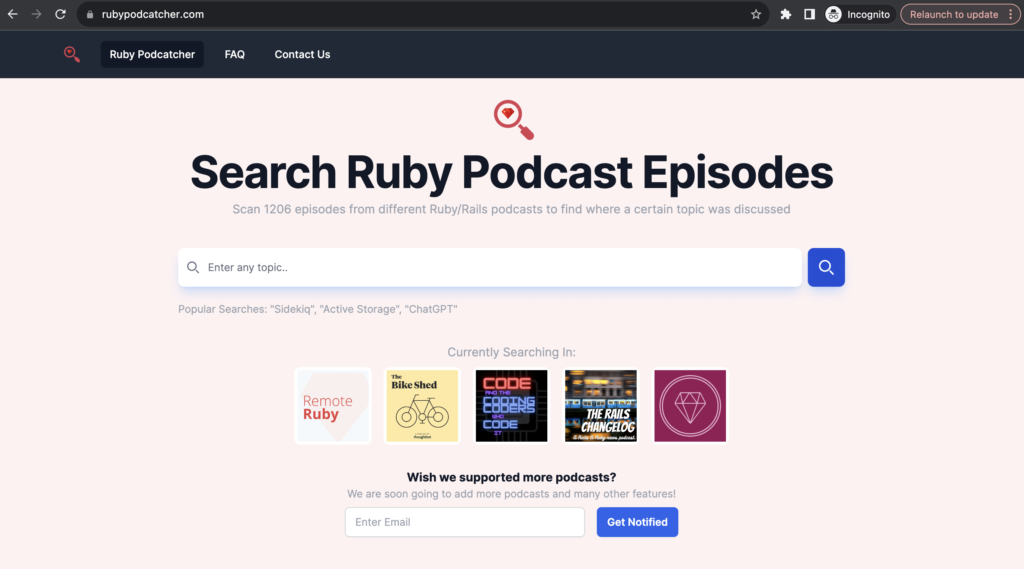
If you would like to search for specific terms or concepts or names in Ruby/Rails podcasts, check out rubypodcatcher.com